We all have a desire to make our homes look as sophisticated and visually appealing as possible. One very important aspect of the look and feel of a home is the tiling. It is of extreme importance to embrace quality tiling for home building done the right way. Tiles are versatile and can be used almost anywhere, including fireplaces and ceilings. You can tile your bathroom, your floors, and most importantly your roof as well. Read on for a few useful home tiling tips to help improve the look of your home.
1. Ask For Help
Consult an interior designer, or spend an ample amount of time on your necessities, deciding the way you want to tile your house. For example, for a few people, it may make sense to use ceramic tiles, while others may want to use laminate flooring.
2. Floor Tiling
It is essential to understand the look you wish to opt for, and which floor you want to tile. For a bathroom floor, it may make sense to go for an anti-skid tiling option, and a living room may warrant cork flooring. It is essential to know the different flooring options available.
3. Bathroom Tiling
Bathroom tiling is an activity that completely enhances the feel of your house and is often something that visitors always remember. So, it is necessary to pay attention to the selection of tiles and their quality. Non-porous and slip resistant tiles should be preferred, as in addition to looking chic, they drastically reduce the scope of injury.
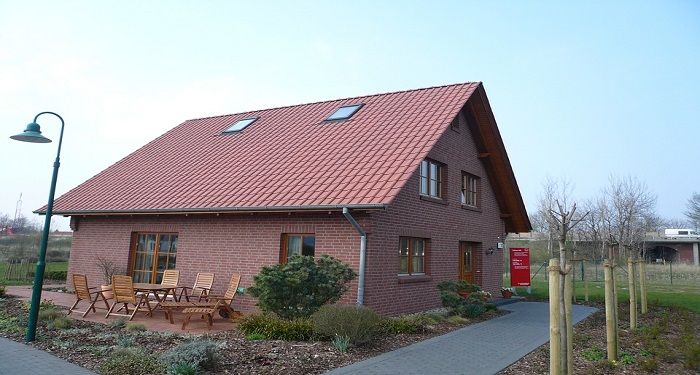
4. Home Tiling: Pay Attention to the Roof
Ceiling or roof tiling has functional and aesthetic benefits. The longevity of a home is only possible with a solid roof, and it is essential to know when to improve, repair or renovate your roof tiling. Often people believe that under the right weather conditions, roof tiling and the sturdiness of the roof should last for decades, but loose tiles, and weather wear and tear damage these roofs. It is thus essential to go to trusted professionals and take one step further towards home improvement by roof tiling.
5. Budget Your Renovation Well
Home tiling can be a costly affair, and it makes sense for the renovator to understand where they can budget intelligently. Cutting costs in labour, and by choosing the right kind and material of tiles makes all the difference. For example, a bathroom shower recess can either be tiled completely, or it can be tiled half way up (eye level) and rest can be painted in neutral accents or natural stone can be added. It is also always better to maintain your home properly, because minor repairing costs lesser than replacing. If it’s a new house, make sure to make the right budgeting decisions. Find trusted contractors for all your needs.
6. Pay Attention to the Colours
When one is renovating, it is easy to get taken by tiles and patterns and not realize that the whole colour theme of the house is not coherent. It is therefore essential to see the colour tones that will add to the feel of the room and the area, and then make final decisions about the tiles and the paints. For example, bathrooms are usually in the shades of cool blues, to sea greens and whites. So, decide well.
AUTHOR BIO
Candice Brown is a creative blog writer. She writes on many topics including home improvements and DIY/Decor.